Getting a headlight tint is easy. You get your cash ready, head to an automotive shop, and just say the word.
It’s the removal process that’s challenging.
Whether you just got a second-hand car or you’re already regretting some decisions, you might be looking for a way to reverse that tint.
Figuring out how to remove headlight tint can be messy, but it’s not impossible.
Let’s dig into the details!
How to Remove Headlight Tint Vinyl Wrap
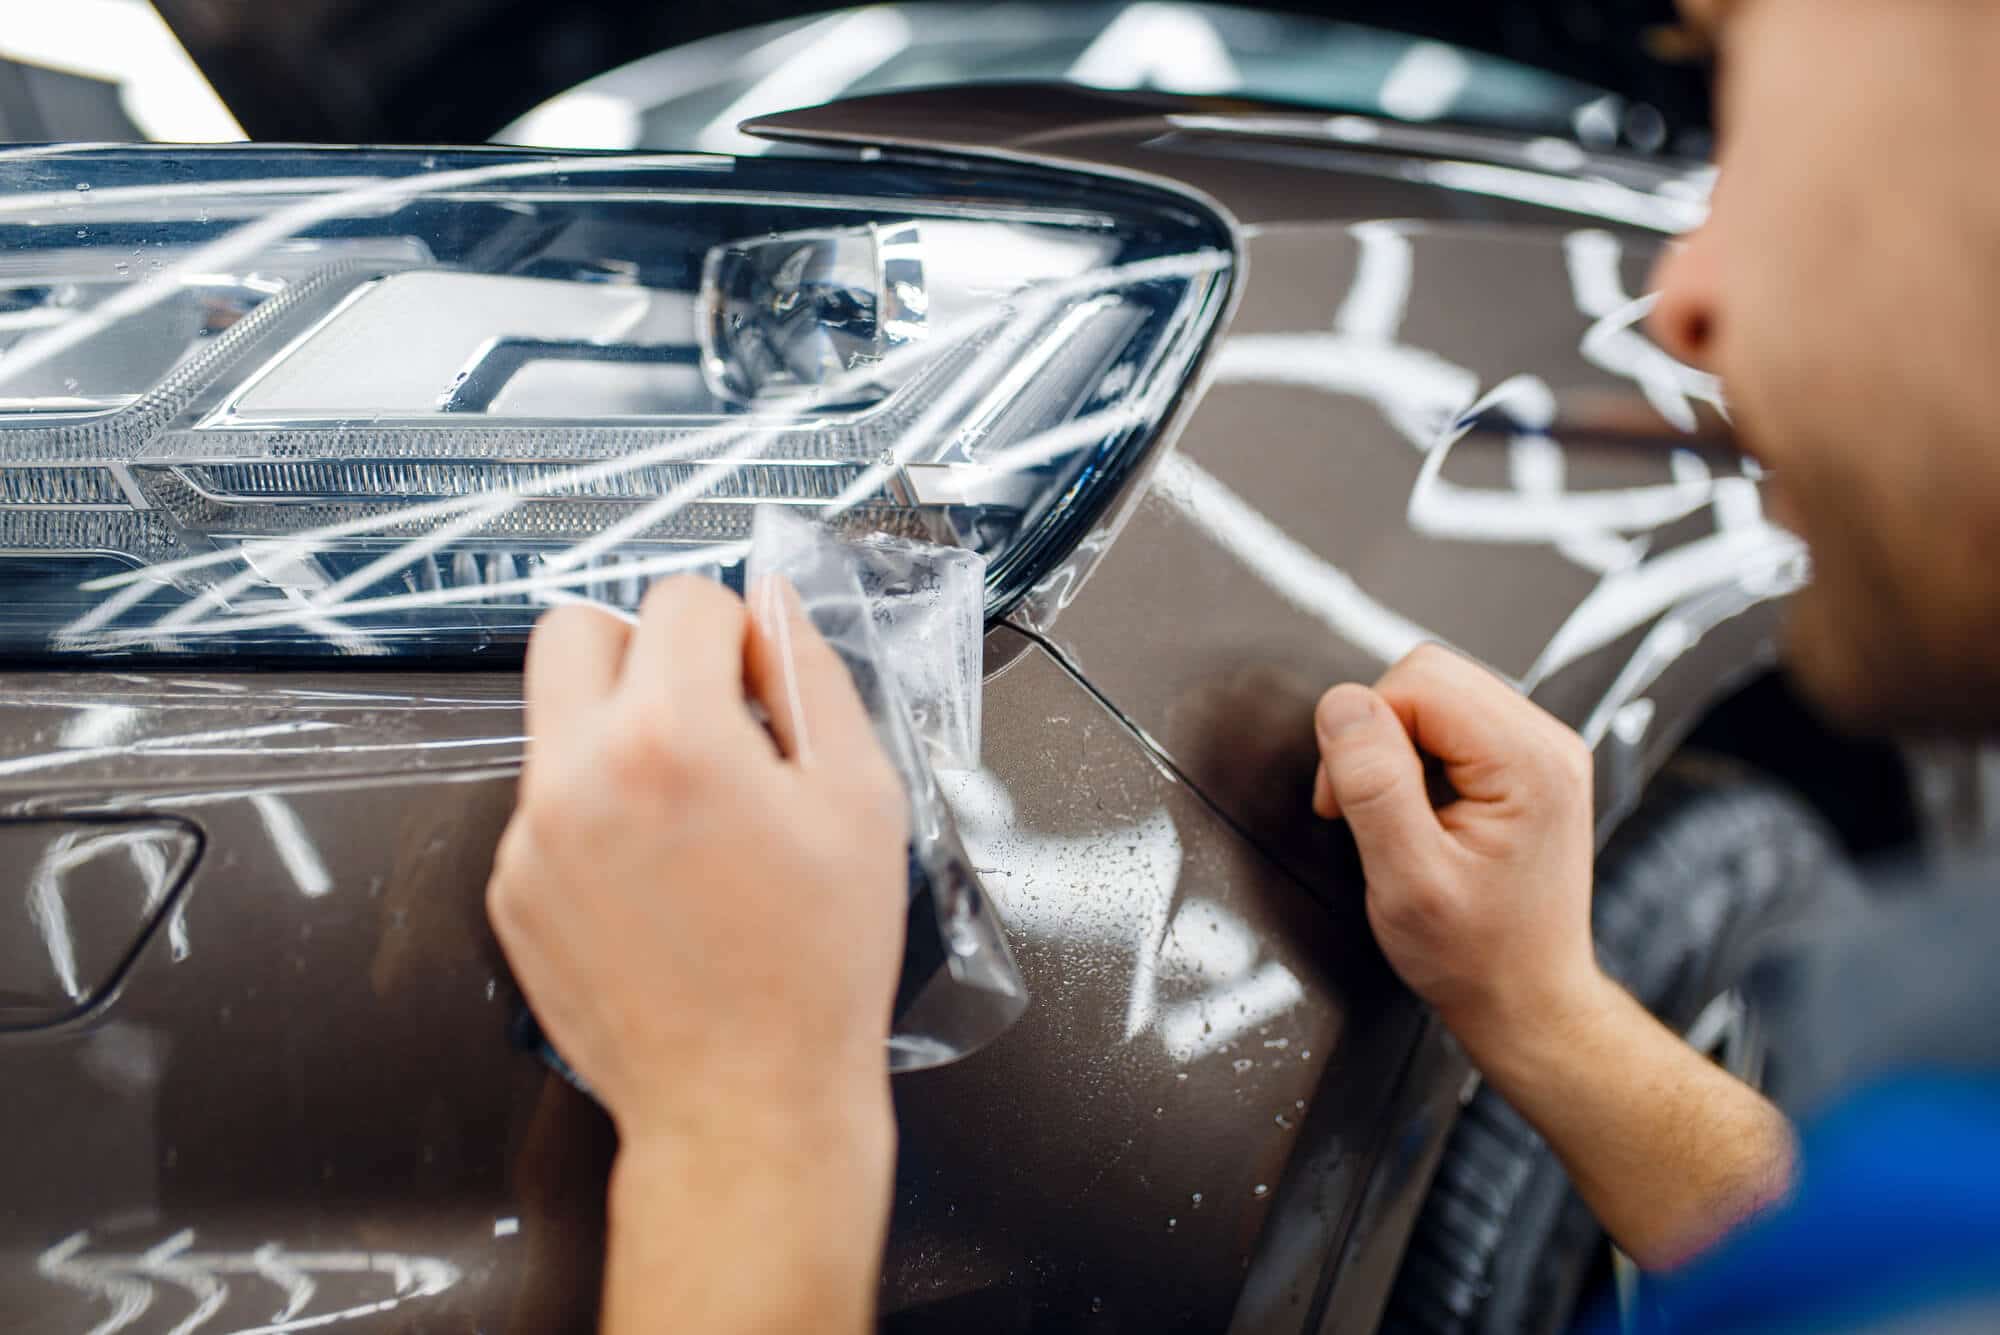
Vinyl is one of the most common tinting types for tail and headlights. It’s a highly opaque sheet that sticks over the headlight.
If you’re not sure if it’s a wrap or a spray tint, try scrapping a little at the edge with your fingertips. It might not peel off, but the texture should tell you if it’s paint or a vinyl film.
Once you’re sure that it’s a vinyl tint, start with the removal process:
1. Warm It Up With a Heat Gun
While the hardest part in this whole ordeal is dealing with the glue, you still need to start by removing the actual tinting sheet first.
Unfortunately, finding an edge on the wrapping and just yanking it off sounds much easier said than done.
That’s where the heat gun comes in.
If you don’t have access to a heat gun right now, look for a hair blow dryer. It’ll take more time since it’s not as efficient, but it’ll save you in a pinch.
With the highest setting, direct the heat to the headlights and move back and forth. Try to focus more on making one edge pop, but warm up the whole thing.
It’ll soften the glue a bit, which will help you later on when you’re scrubbing the residue away. Most important, after a couple of minutes, you should have one visibly loose edge to tug at.
2. Peel the Softened Edge Right Away
Once you see that yank-able spot, jump at the opportunity and peel it off. The more you wait, the cooler the glue will get and the harder the peeling will be.
You might even have to peel with one hand while you’re holding the heat gun with the other. This will ensure that the glue doesn’t harden back while you’re pulling.
If dexterity isn’t your forte, maybe ask a friend to lend you a hand.
Start with the edges and make your way upwards. Don’t worry about breakage. The vinyl is usually very stretched and resilient.
Just don’t let the time-rush force you to be careless with the peeling. Try your best not to drop the sticky vinyl over the car itself.
It’ll already be hard enough to clean up the mess from the headlights, and you really don’t want to add more work by getting glue on the car paint.
3. Soak and Wipe With Rubbing Alcohol
Now that you’re removed the vinyl tinting sheet, you’re all set for the bulk of the work. It’s time to deal with the sticky mess left behind on the headlights.
It’s not hard, per se, but it’ll be time-consuming, so make sure you don’t have to be anywhere for an hour or so.
The smartest way to go at it is by finding a chemical agent to dissolve the glue. The tricky part is finding something that won’t ruin the paint job on your car.
Try out isopropyl rubbing alcohol around 10-15% strength. It’s not quite harsh, and it’s widely available.
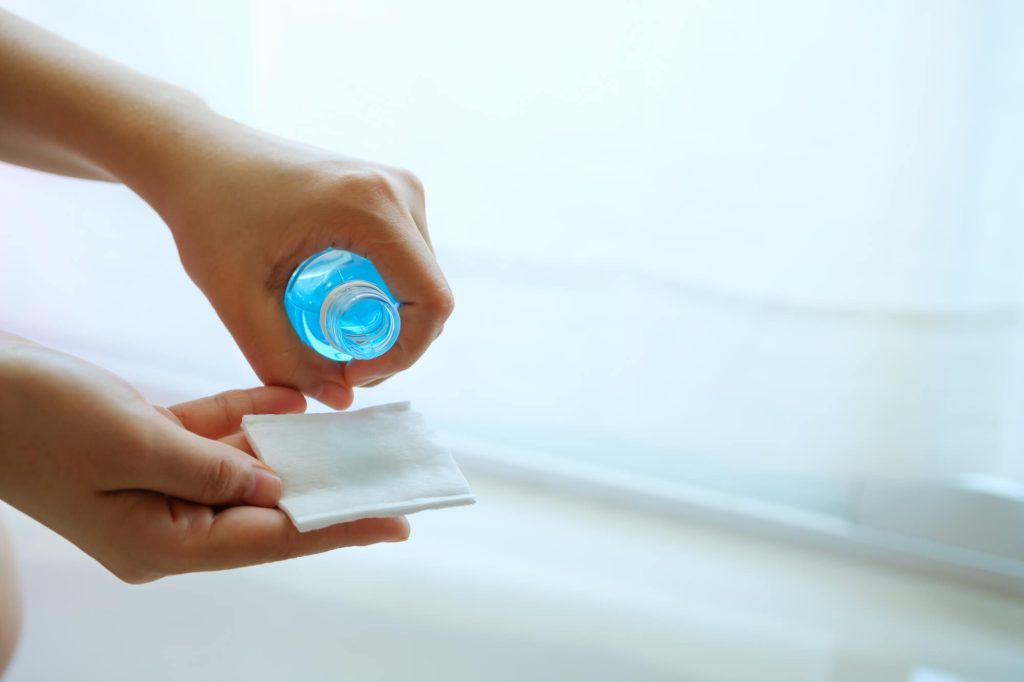
To avoid making a mess, soak a cloth with a generous amount of alcohol and let it sit on the headlight for a while. This will help to break up all the stickiness of the glue.
After a few minutes, you can start scrubbing with the same cloth. Go in circular motions while trying your best not to mess up your paint.
Keep in mind that you’ll probably have to go in multiple rounds. After all, it’s a cheap and fool-proof method, but it’s not exactly time-saving.
If you’re not seeing any significant effect from scrubbing, don’t lose patience. Re-soak the cloth and let it sit for five more minutes, then try again.
A little trick that can help you save time is to work on both sides simultaneously. Let one soak, scrub the other, and vice versa.
4. Spot Clean the Paint
When you reach a satisfactory result with the headlights, move on to the painted body around them. Tend to all the little glue that might have transferred during the last step.
Sure, you tried your best to keep the residue away from the paint job, but no matter how carefully you are, you’ll still be bound to go a little over the headlights.
However, hopefully, the damage is minimal and will go away with a little spot cleaning.
Don’t opt for household glass cleaners. They’ll end up attracting dust, oil, and grim. Instead, go for the lightest detergents you can find around.
In fact, the good-old dish soap and water will work just fine. Just make sure you’re using a clean cloth, not the one you used in the last step!
If the stains around the headlight are resilient, get a soft sponge and scrub gently till they’re gone.
5. Go for the Final Touches
The last thing left to do is give your car a good rinse, headlights, hood, and all. This will remove any leftover alcohol or soap.
Plus, it’ll also reduce the risk of leaving streak marks on the headlights and the areas where you did the spot cleaning.
When you’re all done, keep an eye out for the dust accumulation. If there are any glue residues left behind, they’ll gather dust over time.
You’re most likely to see this on the edges. Those were probably the hardest for you to wipe clean.
So, you might need to go over the resistant stained areas again in a day or two with rubbing alcohol and water.
Don’t worry, though. It will be much simpler compared to the first time around.
How to Remove Headlight Tint Spray
One alternative to vinyl tints is a spray or a dip. This type uses a special paint can to layer up the darkness on the tails or headlights.
While it’s so easy to apply, it can be a pain to take off.
With this kind of tint, there’s no outer film to peel. It’s all about scrubbing the pigment out of the headlight. Quite literally.
You might have to use some chemicals to help, but in the end, it’ll all come down to elbow grease.
Keep in mind that you want to settle for the least harsh options before you make your way down the list.
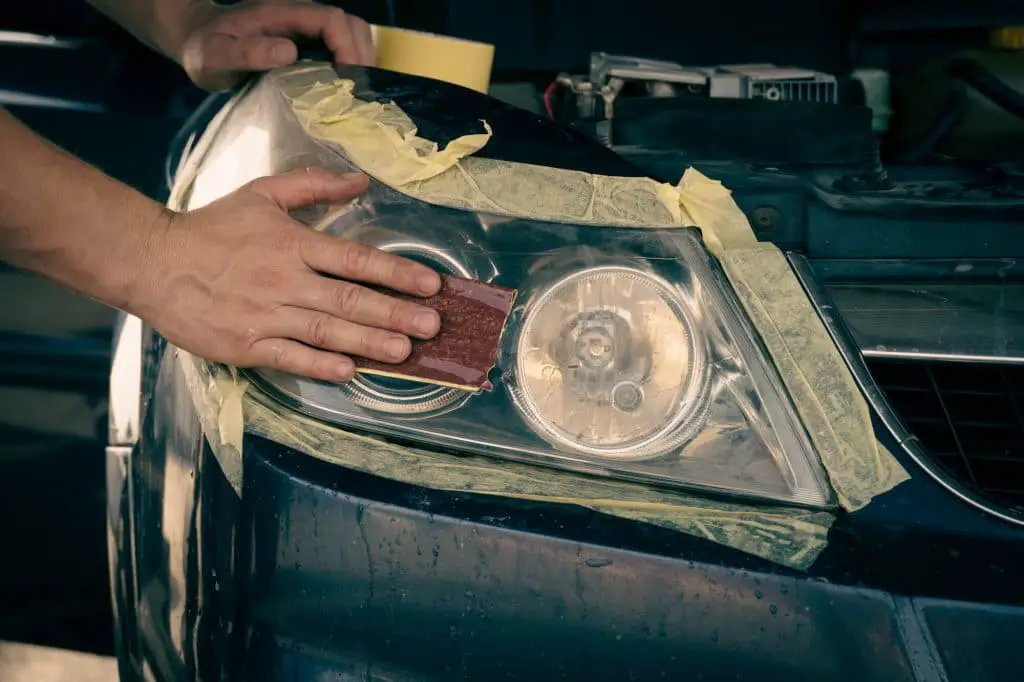
1. Protect Your Paint Job
First and foremost, make sure that your car’s body paint is protected.
You’ll be putting the headlights through a whole lot of scrubbing, chemicals, and even sanding. Odds are, you want none of those around your paint job.
One thing you can do is get a load of newspapers around the headlight. Then, use masking tape to hold the covering layer in place.
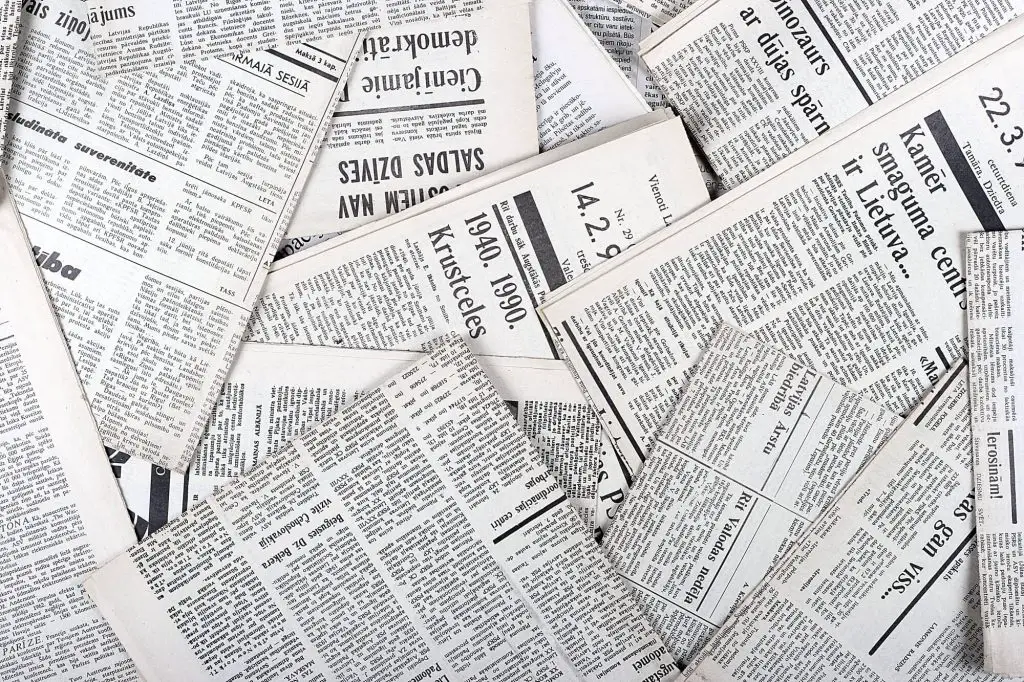
The only part that should be visible in the middle of the newspapers is the headlight. This way, the barrier will catch a lot of the abuse before it gets to the paint.
It’s not ideal, but it works.
Alternatively, you can just remove the headlights completely. It’s a bit of extra work, but it’ll make the remaining steps a ton easier and less stressful.
2. Soak In the Cleaning Solution
The best part about removing the headlight covers is that it gives you so much more freedom and control for the next steps.
You don’t have to worry about hitting the paint job anymore. You just pop it off and take the cleaning process somewhere else.
This way, you’ll have more cleaning options to choose from and wider angles to work with.
For one, paint thinner and acetone will be viable options to consider. You couldn’t use those safely around automotive paint.
However, you might want to start soaking in something a little milder, like rubbing alcohol, to see if it’ll get the job done.
You can also try out an ammonia soak. Just make sure you’re in a well-ventilated area to avoid inhaling potentially dangerous fumes. Wearing gloves is highly recommended, too.
If you can’t manage to remove the headlights, use a cloth soaked with rubbing alcohol, much like how we’ve covered in the third step of the vinyl removal guide.
3. Scrub, Rinse, and Repeat
While soaking will help break down the tint material a bit, you’ll most likely need several rounds of scrubbing and rinsing before you see a significant result.
To test this, do it on a small patch first. If the tint seems to come off, go along with the scrubbing. If not, leave the headlight to soak longer.
Use a regular household sponge to scrub in circular motions. Once again, remember to wear gloves for this.
Keep in mind that you’ll need to rinse often in between to evaluate how much of the pigment is actually being removed.
4. Deal With the Fogging
If the scrubbing and acetone alone get the job done, you’re in luck. You’ll just rinse the cleaned headlights, dry them, and install them back in.
However, it might be better to wait for a few days before installing. Acetone and isopropyl can often turn clear plastic foggy.
To reduce this effect, wash with dish soap immediately after the scrubbing and a few times later on.
On the other hand, if the previous steps weren’t enough to remove the tint, you’ll have to go one with the final trial and sand the color off. In most cases, this will get rid of the fogginess, too.
5. Gently Polish With Sandpaper
If all else fails, try your luck with wet sanding. You’ll need 2500-3000 grit sandpaper to avoid scratching the surface.
To save yourself some strenuous work, you can use a drill around 1200-1600 rpm if you have a rotating sanding disk.
You can get a package of those with different grits in a headlight restoration kit.
On the upside, you’ll buff up the headlights. By the end, they’ll look smooth and crystal clear with much better visibility!
Of course, this all depends on whether or not you have a drill. If not, you’ll have to settle for manual sanding.
It’s risky and will take a while, though. That’s why you’ll ideally leave it as a last resort.
FAQs
Let’s move on to the most frequently asked question about removing headlight tints:
Q: How much time will it take to remove headlight tints?
A: If you have vinyl tints, the whole process could be over in 1-2 hours. On the other hand, a spray tint will take the better part of a day.
Q: Does rubbing alcohol ruin car paint?
A: While concentrated isopropyl rubbing alcohol can ruin automotive paint, diluted bottles at 10-15% won’t be so bad.
Q: Does acetone damage headlight plastic?
A: To an extent, acetone will eat away the top layer of the plastic. This won’t cause any integral damage, but it might turn it foggy.
That’s why it’s better to use dish soap to remove the residue when you’re done. Otherwise, you’d have to buff it with sandpaper.
Q: How can you remove a headlight cover?
A: The process for each car model will be a little different. However, you’ll need to loosen the front bar and unbolt the headlight from within the hood.
With a heat gun, warm up the whole thing to be able to pry the headlight open. Just remember to seal it back properly when you’re done!
Final Thoughts
Now that you know how to remove headlight tint, you don’t have to worry about breaking the bank on a replacement.
For a tint vinyl film, a heat gun and some rubbing alcohol will get the job done. Removing a headlight spray tint is a little harder, and you might have to remove the cover and sand it out.
With a little elbow grease and some patience, your headlights will look brand new!