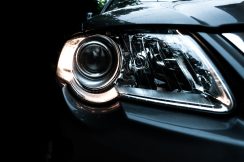
If your headlights are turning yellow or cloudy, there’s a high chance that means oxidation. When subjected to UV radiation, the headlights oxidize, causing yellow to appear on them.
Manufacturers apply a clear coat to the headlight lenses to avoid this. But, the layer ultimately washes off.
Oxidation doesn’t allow a lot of light to travel through. Your headlights will appear foggy when oxidized, which isn’t safe while driving. So, preventing that is critical.
In this article, we’ll go through the many methods on how to keep headlights from oxidizing. In addition, we’ll discuss how you can restore them.
How to Keep Headlights From Oxidizing
There are many ways to keep your headlights in good working order. If you follow all of these guidelines, your headlights won’t oxidize as quickly.
Park in a Suitable Place
It may not appear so, but your parking spot has a risk level that might impact your vehicle. You should park your car in a cool, dry location away from direct sun exposure.
Additionally, avoid parking in areas where there is a chance of moisture. If the air is humid, more condensation will form on the inside of the headlamp. This will result in foggy headlights.
Because most garages are private, finding a good parking spot on the street may be difficult. Look for a large tree with shade or a parking lot with a roof to shelter your car from the sun.
Consider purchasing a protective cover if you have to park your car outside on the street with no shade. A car cover will preserve your vehicle in good condition while also saving you time and money on repairs.
Apply a Protective Cover to Your Headlights
A car cover can shield your vehicle from the weather conditions. The majority of car covers will have a synthetic exterior layer and a soft cotton inner layer.
The covers will keep your car clean and protect it from minimal damage. Additionally, it will prevent the headlights from oxidizing.
Headlights have protective covers made specifically for them. These coverings have apertures for the headlights to transmit their light. They also cover the unused areas of the headlamp lens.
Additionally, the covers shield the headlights from UV rays and air pollutants, all of which can cause oxidation.
There are several types of headlight protection. You can apply vinyl film, spray-on, or wipe-on products. Make sure that whichever headlight protection you choose includes UV protection.
Clean Your Headlights With the Proper Equipment
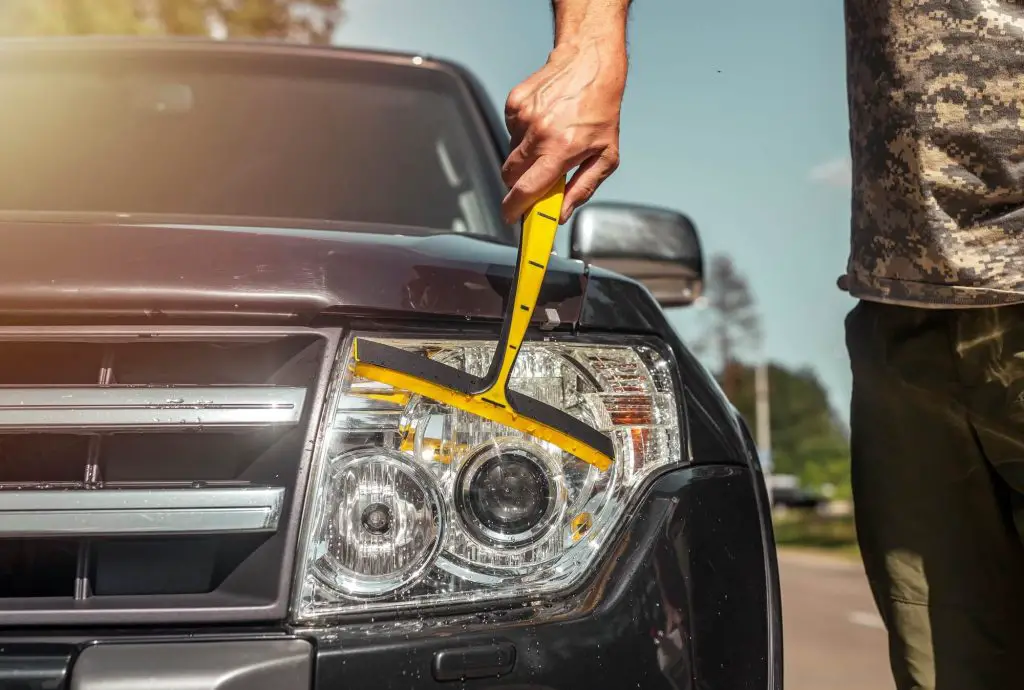
Your car’s headlights may require a thorough polishing every once in a while. They get exposed to a lot of dirt and UV rays. Therefore, they’ll be less efficient in lighting the lamps and will oxidize fast.
If you find the lights aren’t as strong or seem hazy, then it’s time to clean your headlights. You should do this process every three to six months at the very least.
However, be cautious about the equipment you use. Some chemicals and substances might wear away the protective layer of the headlamp. So, you should seek expert advice first.
When cleaning the headlights, be careful and use a soft cloth that won’t cause any scratches.
Wax the Headlights
Waxing your headlights is just as vital as waxing your car’s external body. It offers an additional layer of shield to the headlights. The wax prevents dirt from adhering to the plastic’s exterior.
Waxing your headlights has several advantages, including:
- Minimizing the oxidation of headlight covers caused by UV radiation
- Making the headlights’ cover extra clear
- Water repellent with extra protection from dust and dirt
Every three months, you should polish and wax your headlights. Let the wax set after applying it thoroughly to the area. When you’re through, it should be clean and clear without any fogginess present.
If any wax remains, cover it and keep it somewhere cool for future use.
To restore the inside of the headlights, unscrew them and use any of the DIY treatment procedures to remove the debris.
DIY Treatments to Restore Your Headlight
It’s always advisable to get your car’s headlights restored by a professional. If it isn’t a convenient choice for you, you can always do it yourself.
To restore your headlights on your own, first, clean them with Windex or soap and water to remove any grime. After that, you can use any of the following methods:
Sanding
Using sandpaper is the best method if you want a long-lasting result. You will need different grits of sandpaper. For this method, we’ll use 800 and 1,000 grit sandpapers. Here’s how to do it:
- Tape the borders of the headlights to avoid damaging the paint
- Using clean water, rinse your headlights and the 800 grit sandpaper.
- Sand the headlight in small circles and one direction. Throughout the sanding process, keep sprinkling some water. To make sure you didn’t miss any spots, repeat the process a few times.
- Repeat the process using the 1,000 grit sandpaper. After that, you can do the same thing using 2,000 grit sandpaper.
- Wipe the headlights with a clean towel and let them dry
- After they have dried, wipe the headlights using rubbing alcohol and a clean cloth.
- Apply your preferred coating
- Leave it to dry for a day, and you’re done.
Toothpaste
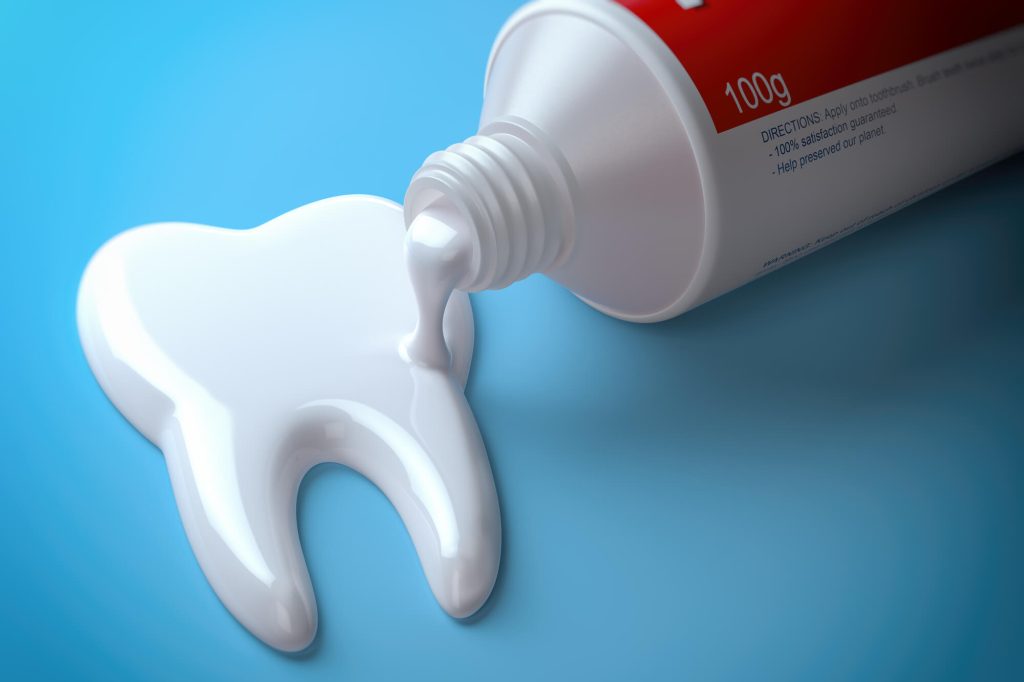
You’ve probably heard of this method before as it’s the most popular. If the headlights are only somewhat cloudy, a gritty toothpaste can restore them.
Plaque-removing toothpaste is advisable since it functions best in treating oxidation. The best type of toothpaste is those that contain hydrogen peroxide or baking soda.
Note that this procedure may only last two to four months.
Once you have your toothpaste, follow these instructions:
- Wash the headlights thoroughly with soapy water and let them dry
- Outline the area surrounding your headlights with tape
- To each headlight, apply a small amount of toothpaste. Avoid spreading the toothpaste too heavily. You can use a soft cloth or directly apply the toothpaste to the headlights.
- In a circular motion, wipe every part of the headlight.
- Wash both headlights with warm water once you’re through
- This is an optional step. You can apply wax or a UV-resistant sealant to ensure you’ve added an extra layer of protection.
Baking Soda Paste
A baking soda paste is a good alternative. Baking soda’s soft gritty properties, similar to toothpaste, will lightly brush away any debris on the headlight. Here’s how to do it:
- With tape, mark the area around your headlights.
- Make a paste using five teaspoons of baking soda and some water. Make sure the mixture isn’t watery.
- Using a delicate cloth, apply the paste to both headlights. You can soak the cloth in vinegar before using it for more efficiency.
- Scrub the entire area many times with gentle circular motions
- Thoroughly rinse the headlights.
- After rinsing, you can apply wax or a UV-resistant sealant.
White Distilled Vinegar

You can use regular home vinegar if you don’t want to buy anything special. It works well to dissolve grime, oils, and dirt. Cleaning with vinegar is also eco-friendly.
You can remove the dirt by cleaning or spraying the headlamp with vinegar. You can also combine baking soda and vinegar to make a stronger mix.
Here’s how to make your vinegar spray:
- Mix three parts water with one part white distilled vinegar
- Fill an empty spray bottle with the vinegar and water solution.
- Apply the vinegar to the headlights. Allow it to sit for a minute to dissolve the grime.
- Remove the vinegar solution off the headlamp with a clean, soft cloth. Wipe in sweeping circular strokes
Aluminum Polish
You can use an aluminum polish to restore the headlights. The polish is an effective cleanser for removing oxidation, dirt, and other marks. For four to six months, the sealer will safeguard your headlights.
Most hardware and automotive supply stores sell the polish, so you can find it easily. Once you’ve got it, proceed as follows:
- Wash your headlight with soap and water and let it dry
- Use a small amount of aluminum polishing compound to polish the headlights.
- With a soft dry cloth, distribute the polish in small circular motions.
- Keep in mind that it will dry with a cloudy appearance. Using a clean cloth, wipe away the fog. You may have to repeat the process multiple times till you get a clear result.
- Apply the coating of your choice, or you can use wax.
What Turns Your Headlamps Yellow and Foggy?
Most headlights’ materials are UV-resistant polycarbonate polymers. They do, however, wear off with time. The yellow fog occurs because of oxidation.
Oxidation happens due to excessive UV exposure, dirt, and other toxicants encountered on the street. When exposed to UV light, the lenses develop small fissures that cause the haze you perceive.
Furthermore, road grit damages and stains the headlights. When the humidity is high, or the highlights are subject to a lot of moisture, the damage further intensifies.
The vapor forms inside the car’s headlight and distorts the light passing through the polycarbonate. This results in swirls and light diffusion on the street, making it difficult to see properly.
As a result, headlights need washing and polishing with a coating regularly. Otherwise, the UV protection may deteriorate.
Are Oxidized Headlights Dangerous?
Because oxidation occurs gradually, you may not notice any changes at first. Fogging will progressively lower the amount of light seen from your headlights. So, it won’t be risky at first.
However, you must intervene before the oxidation worsens. During the day, oxidized or foggy headlights may not have a big impact on your driving. Yet, driving at night could be quite risky.
Your vehicle’s headlights are essential not just for you to view the road clearly. It’s also important as they notify oncoming cars of your car’s location. If another driver is speeding, this can be quite unsafe.
Cars must also have two working headlights, according to the law. If your headlight is faulty, you will probably be stopped and given a penalty. The average charge for a safety violation is roughly $150. However, the fine can be more in particular areas, so it’s better to take caution and check the headlights before heading out.
Can Other Car Parts Be Oxidized?
Unfortunately, the headlights aren’t the only components of the vehicle that might oxidize. Because of the oil, your engine may oxidize. As oil reacts with oxygen, all engine oil will inevitably oxidize to some extent.
Some oils inherently oxidize faster than others, which can lead to a variety of issues, including:
- Reduction in fuel efficiency
- Engine failure becomes more likely.
- Oil’s effectiveness rate decreases
You should check your vehicle’s engine oil at least once a month or more to avoid oil and engine oxidation. An oil change should be a regular part of your vehicle’s maintenance schedule. The oil lubricates your engine and protects it from overheating.
Additionally, you should inspect and, if necessary, replace your fuel filter. A fuel filter prevents dirt from infiltrating and damaging your vehicle’s engine.
Moreover, you should use products to keep the aluminum parts of the engine from oxidizing. You can do so by cleaning the aluminum surfaces of the engine and then applying automotive wax.
The wax will safeguard the parts by providing a light coat of protection and preventing oxidation. Most automotive waxes only last two to three months, so make sure you reapply after that duration.
Wrap Up
If your car’s headlights have turned yellow, then you must know how to keep headlights from oxidizing. Make sure to park your car in a safe location and protect it with a protective cover.
Also, you should thoroughly clean and wax your headlights. If you can’t find any headlamp cleaning supplies, you can polish them yourself at home. You may use common household goods such as toothpaste.
You can also work with distilled vinegar and make a baking soda paste. That way, you’ll have your headlights looking brand new in no time.